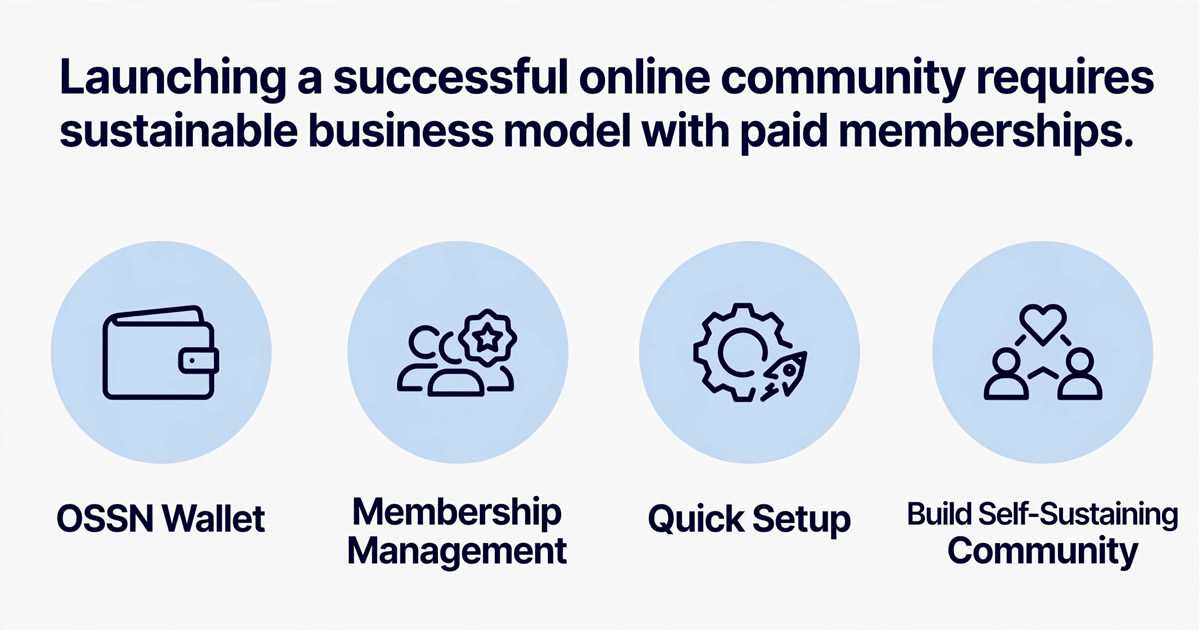
Launching a successful online community requires more than just high engagement, it demands a sustainable business model. While passive monetization methods like display advertising work well for large, open platforms (see our guide on How to Make Money with Your OSSN Social Network for ad automation), direct monetization through paid memberships is the gold standard for private, niche, and enterprise communities.
Building a custom payment portal from scratch usually involves complex webhooks, security compliance, and weeks of engineering. Fortunately, Open Source Social Network (OSSN) makes it easy to create your own social network with built-in, secure monetization features.
Step 1: Secure Payment Processing with the OSSN Wallet
To process transactions natively without writing a single line of code, start by installing the official OSSN Wallet component.
The Wallet component connects your platform directly to Stripe, allowing users to deposit funds or pay for services securely. Under the hood, it handles enterprise grade financial workflows:
-
Stripe Elements Integration: Provides an inline, conversion-optimized checkout experience where sensitive card details bypass your server entirely, reducing PCI-DSS compliance overhead.
-
Setup Intents API: Securely authenticates and saves user payment methods for seamless, automated processing.
-
3D Secure (3DS) Compliance: Natively supports strong customer authentication (SCA) to meet global banking regulations and prevent fraud.
Step 2: Automating Paid Tiers with Membership Management
Once the Wallet component is configured, you need a mechanism to lock content and manage subscription levels. By combining the Wallet with the Membership Tier Management component from OpenTeknik, you can automate your entire recurring revenue funnel.
With Membership Tier Management, administrators can:
-
Define custom membership levels (e.g., Free, Pro, VIP).
-
Automatically assign users to exclusive groups based on their active subscription status.
-
Put premium community feeds, discussions, or downloads behind a paywall.
-
Automatically handle plan upgrades, downgrades, and cancellations.
Step 3: Quick Setup Guide
Setting up your paid network takes only a few minutes:
-
Download the Prerequisites: Install the Wallet component and the Membership Tier Management component on your OSSN installation.
-
Add Your Credentials: Navigate to your OSSN Administrator Dashboard, open the Wallet settings, and enter your Stripe Publishable Key and Secret Key.
-
Configure Your Tiers: Set up your desired membership pricing structures, billing frequencies (monthly or annually), and access permissions.
-
Go Live: Test your payment flow using Stripe Sandbox mode, then toggle to live mode to begin accepting payments.
Build a Self-Sustaining Community Today
When you create your own social network on a self-hosted platform like OSSN, you maintain total ownership of your user data, branding, and revenue streams. By leveraging the combined power of the OSSN Wallet and OpenTeknik Membership Tiers, you eliminate payment integration headaches and build a recurring revenue stream from day one.