Open Source Social Network (OSSN) is free, open-source social networking software that lets you create your own social networking website. You can use it to build a private community, membership website, or social platform where users can create profiles, share posts, join groups, and interact with each other.
One way to install OSSN is through its official Ubuntu Personal Package Archive (PPA). This method installs OSSN and its required packages on a compatible Ubuntu server.
In this guide, we’ll walk through the installation process on an Ubuntu VPS.
Requirements Before You Start
Before installing OSSN, make sure you have:
- An Ubuntu VPS or dedicated server.
- SSH access with a user account that can run commands using
sudo. - A public IP address or a domain name pointing to your server.
- A fresh Ubuntu installation.
Important: Use a fresh Ubuntu server for this installation. The installer will remove or replace existing Apache, MySQL, PHP, and related packages. If your VPS already hosts websites or applications, installing OSSN could affect them, including files and services associated with /var/www/html/. Back up any important data before proceeding.
Step 1: Add the Official OSSN PPA
Connect to your Ubuntu VPS over SSH. Add the official OSSN PPA using the following command:
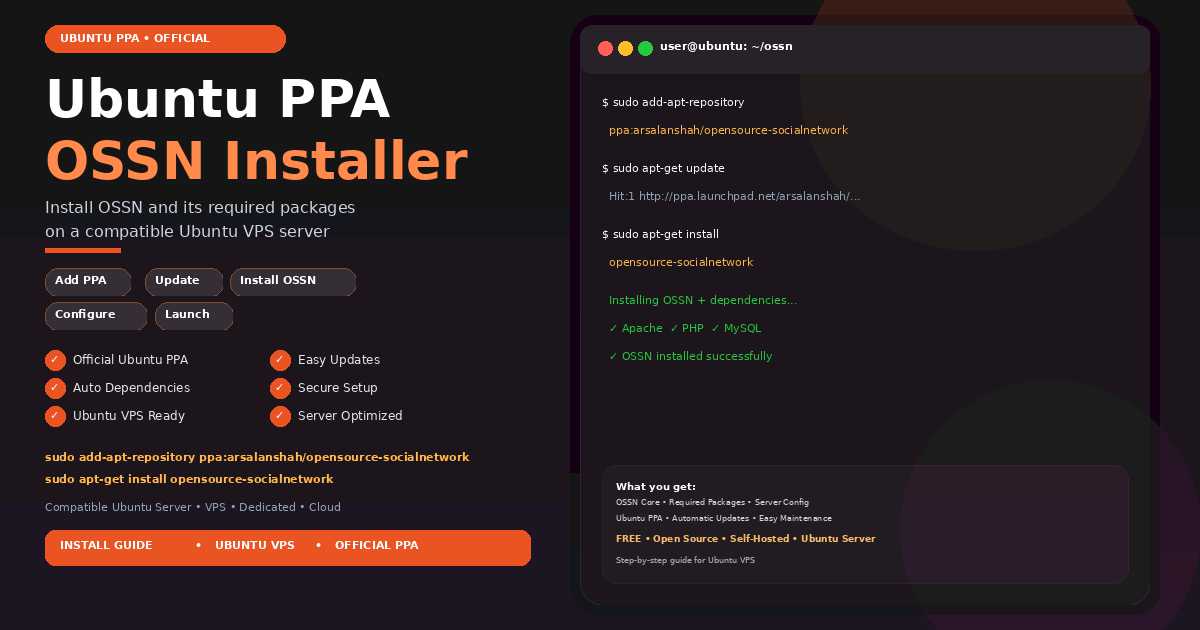
sudo add-apt-repository ppa:arsalanshah/opensource-socialnetworkIf Ubuntu asks you to confirm adding the repository, follow the on-screen instructions.
The PPA provides the package source needed to install OSSN through Ubuntu’s package manager.
Step 2: Update the Package Index
After adding the repository, update the package index so Ubuntu can retrieve the latest package information available from your configured sources.
sudo apt-get updateWait for the command to finish before moving to the next step.
Step 3: Install OSSN
Run the following command to install Open Source Social Network:
sudo apt-get install opensource-socialnetworkUbuntu will download and install the package along with the dependencies specified by the installer. Review the package changes and follow any prompts shown in your terminal.
Follow the screen after the command and wait for the final installation process to finish.
Step 4: Complete the Web Installation
Once the package installation has completed, open a web browser and visit your server’s public IP address or the domain configured for the installation.
For example:
http://YOUR_SERVER_IP/Replace YOUR_SERVER_IP with your VPS’s actual IP address. If your domain is already pointed to the server and configured correctly, you can use that domain instead.
Follow the instructions displayed by the OSSN web installer to complete the setup.
Do not change the database details pre-filled by the web installer. Leave those values as provided and continue through the installation process.
When the setup is complete, open your OSSN website and check that the site loads correctly.
Step 5: Configure Email Delivery
The OSSN package installation does not install Postfix or Exim4 for email delivery.
If your website needs to send registration messages, notifications, password-reset emails, or other messages, you will need to configure an email delivery method.
You can either configure a mail transfer agent (MTA) on your server or use the OSSN SMTP component to connect your website to an existing SMTP service.
Make sure email delivery is working before opening your community to users.
Step 6: Configure Your Domain and HTTPS
If you want visitors to use a domain instead of the server IP address, point the domain’s DNS records to your VPS and ensure the web server is configured to serve that domain.
You should also configure HTTPS using a valid SSL/TLS certificate before allowing users to register or sign in. This helps protect information exchanged between the browser and your website.
After configuring the domain and certificate, test the website over HTTPS and confirm that pages load correctly.
Troubleshooting
The add-apt-repository command is not available
If Ubuntu reports that the command is missing, check whether the software-properties-common package is installed. On a compatible Ubuntu system, it can usually be installed with:
sudo apt-get install software-properties-commonThen try adding the OSSN PPA again.
The installation fails
Check the error messages shown in the terminal. Run sudo apt-get update again and verify that the PPA is available for your Ubuntu release.
If the package cannot be found, the PPA may not provide a package for your specific Ubuntu version.
The website does not open
Confirm that the installation completed successfully, your VPS is running, and the required web services are active. Also check your VPS firewall and hosting provider’s network rules to ensure HTTP and HTTPS traffic is allowed.
If you are using a domain, verify that its DNS records point to the correct server.
Emails are not being delivered
Installing OSSN does not automatically configure a complete email delivery service. Configure an MTA or connect OSSN to an SMTP provider, then test email delivery.
Conclusion
Installing Open Source Social Network on an Ubuntu VPS is straightforward when you use the official OSSN PPA. Add the repository, update the package index, install the package, and complete the web-based setup.
Once your installation is ready, configure your domain, HTTPS, and email delivery to prepare your social networking website for users.